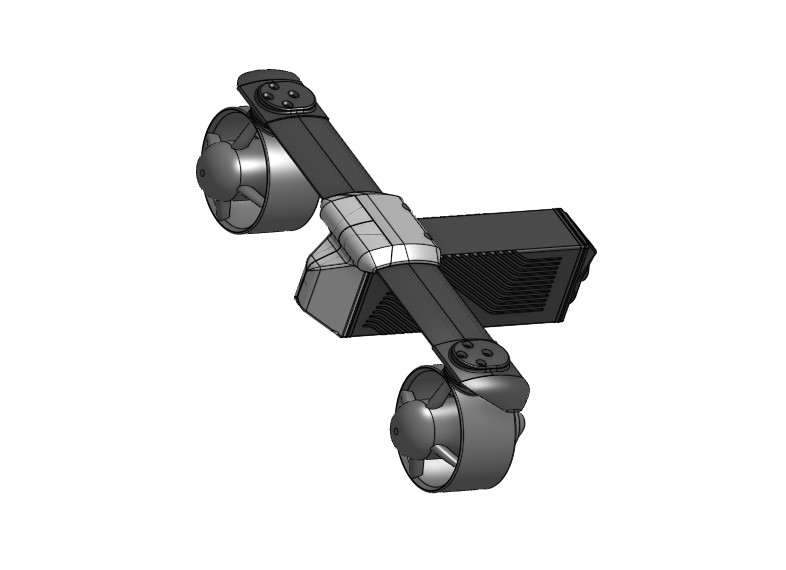
Starting on the Underwater Scooter V2.0 feels like a small reset after V1.0. I took what worked, what didn’t, and opened up the CAD files with a clearer idea of what I want: a cleaner shape, easier assembly, and sturdier parts. Nothing dramatic — just steady progress, one epoxy pour and one screw at a time.
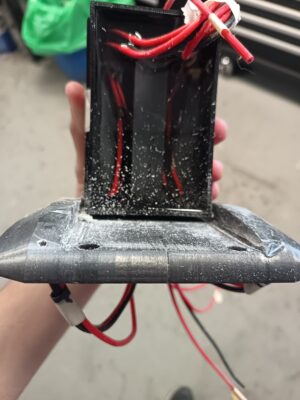
First, I decided on how to pour the epoxy into the front endcap, which had a complex shape. Each picture represents a stage in which I poured the epoxy, the entire pouring/drying process took around a week.
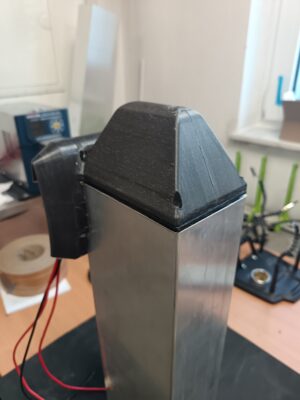
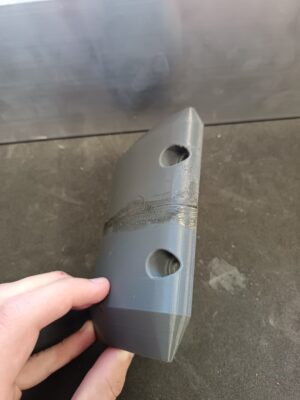
Next came the fit into the main body, the endcap warped due to the epoxy shrinking, making the corners stand out by a few millimeters. It took me a few minutes with a file to do the job. In the end it was a perfect fit.
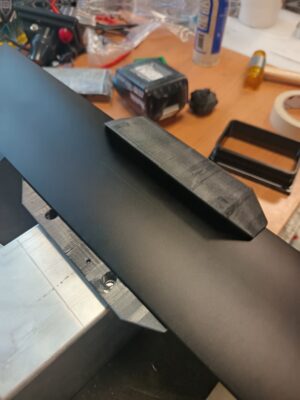
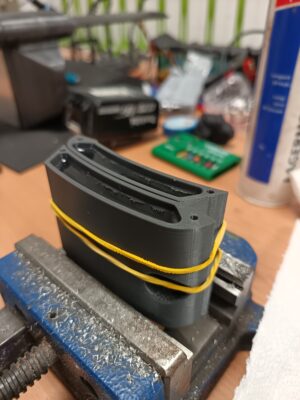
Lastly came the holder for the wing. First I poured the epoxy, after it dried I sanded it with very fine sandpaper. I didn’t waste any time and fitted 2 bolts which I cut both heads off for support, filled the center with more glue than I could ever need (on both parts) and pressed them together. After a day it was as solid as a rock.
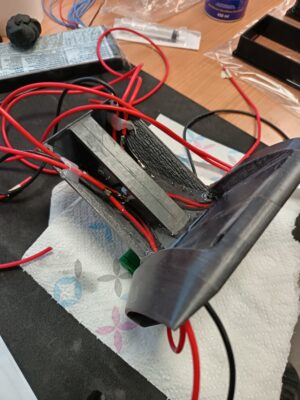
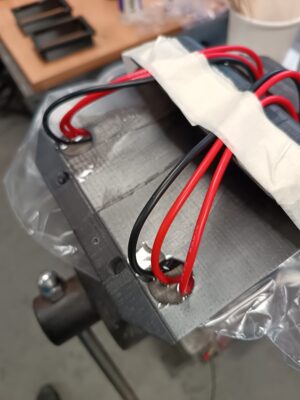
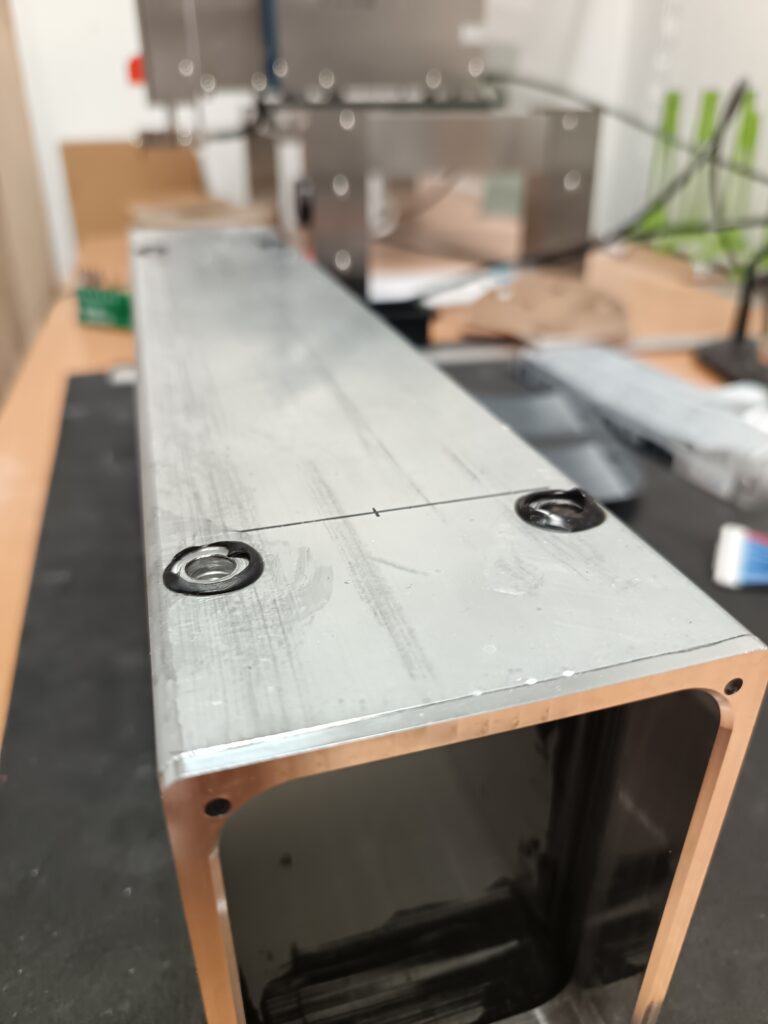
Front endcap was done, so I moved onto the main body, I drilled 4 holes, and with the help of my dad we fitted 4x M6 blind press nuts. The help was needed for applying glue around them to ensure its water sealed (the black circles around the nuts).
Next step is to sand the main body and paint it.
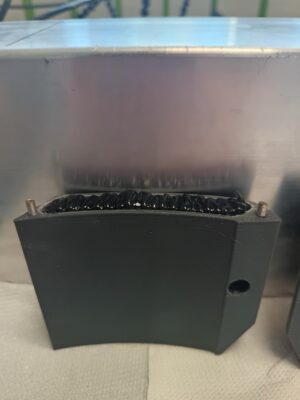
With the main pieces in place, V2.0 is starting to look the way I imagined it. The epoxy set well, the wing sits solid, and the painted housing finally ties everything together. Still more testing ahead, but for now it feels good to see the project taking shape.